Class Library How-to Guide
Accessing your Class Library
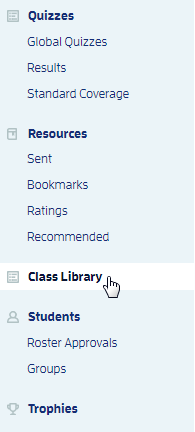
As a teacher you now have your own Class Library! Here you can upload files or input links to websites for your students, all via a file folder system. Anything you put into your Class Library will be accessible by your students when they access your teacher page. Just click Class Library in the Kandoolu Dashboard to get started.
Adding a Folder
To add a new folder, click New Folder. Type in the name of the folder and then click Save.


Once your new folder has saved, you will see a confirmation screen. You can now go back to your Class Library and you will see the folder you've created.

Hint: You can also create folders within folders to help you stay organized. Just click New Folder again while in another folder and you will go through the same process as above.
Deleting a Folder
To delete a folder, go to your Class Library. Click on the folder that you would like to delete. Next click Delete Folder. You will be asked if you are sure that you want to delete the folder you've selected. Click Yes and your folder will be deleted. You will then be automatically taken back to the main Class Library page.

Adding an Item
You can add files and/or website links to your
Class Library for your students to access. Start by accessing your
Class Library from the Dashboard and clicking on New Item.

You
will then be able to name your item, enter a URL, and/or upload a file.
When you are finished, scroll to the bottom and click Save.

Adding a Resource from the Kandoolu Bank to your Library
You can also add items to your Class Library that we have in our Kandoolu Resource Bank. When viewing a resource- you will now see the option on the right to Add to Class Library.

After clicking on that, you will be able to add Instructions for the resource. This is helpful if you have a Homework folder created, or a folder for parents to reference.
When you are viewing the resource in your Class Library you can then click Resource Details to go to our detailed review of that resource.

Copying and Pasting Items into Folders
You can also copy/cut and paste items just like you would on your computer's file folder system. To copy/cut an item, simply right click it- you will see both options appear. Note: You can only copy/paste items, NOT folders.

After choosing an option, a new Paste Item button will appear at the top. This will place the item that was cut or copied into the folder that you're in .

Viewing Items in your Class Library
After you have added an item- it will appear in your Class Library with it's appropriate icon. You can click on the item to view it and access more options.
Here you can Notify Students, Visit Website (if it's a URL), Download File (if a file was uploaded), Edit Item, or Delete.

Student Access to the Class Library
Everything in your Class Library is automatically shared with all students on your roster. Check out our student guide on Accessing Your Teacher's Class Library.
However, they are not notified that anything is in there until you notify them. When you click on an item in the library- you have the option to Notify Students. Clicking this brings up a screen that allows you to either select individual students to notify, notify all students on your roster, or notify within groups that you've created.

Once you make your selection, click Notify Selected Students. You will then see a message indicating that your students have been notified.